- Out-of-Stock


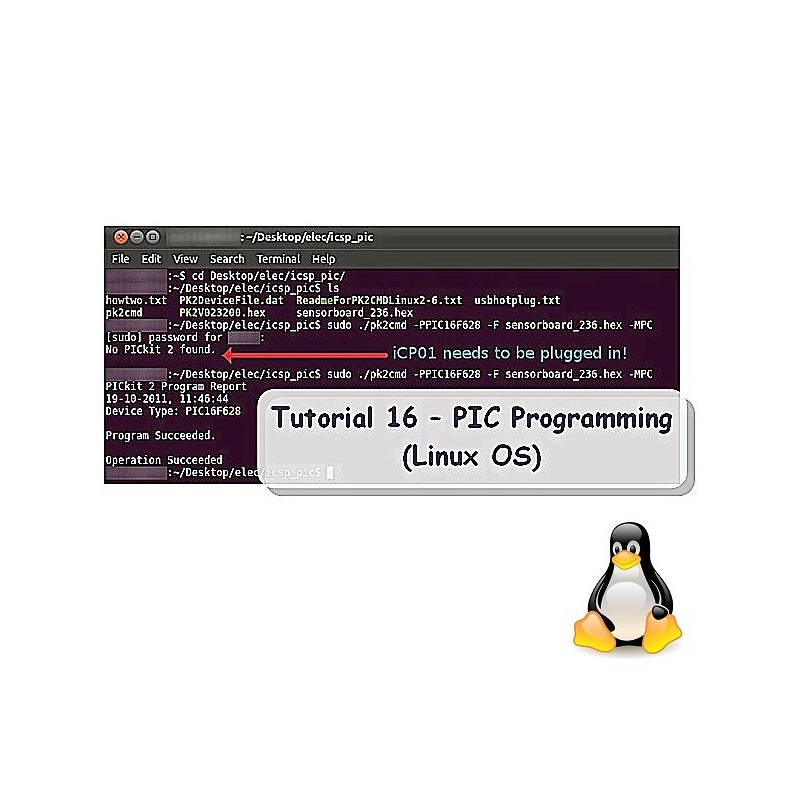
This tutorial shows how to use iCP01 and iCP02 under Linux OS with Terminal or GUI form. Support is NOT provided for this Linux OS programming.
Supported Operating System:
CentOS 4.7, CentOS 5.1, Ubuntu 6.06, Ubuntu 7.10, Ubuntu 8.04, Ubuntu 8.10,
Fedora Core 6, Fedora 9
Software installation (Terminal form):


NOTE: You must have super user or 'SUDO' for the pk2cmd software to access the protected hardware.
Command Line Option:
The following commands are available in the command line interface:
| Options | Description |
| C | Blank Check Device |
| E | Erase Flash Device |
| F<file> | Hex File Selection |
| G<Type><range/path> |
Read functions Type F: = read into hex file, path = full file path, range is not used Types P,E,I,C: = ouput read of Program, EEPROM, ID and/or Configuration Memory to the screen. P and E must be followed by an address range in the form of x-y where x is the start address and y is the end address both in hex, path is not used |
| K | Display Hex File Checksum |
| L<rate> |
Set programming speed <rate> is a value of 1-16, with 1 being the fastest |
| M<memory region> |
Program Device Memory regions: P = Program memory, E = EEPROM, I = ID memory C = Configuration memory If no region is entered, the entire device will be erased & programmed. If a region is entered, no erase is performed and only the given region is programmed. |
| P<part> | Part Selection. Example: -PPIC16f887 |
| P | Auto-Detect in all detectable families |
| PF | List auto-detectable part families |
| R | Release /MCLR after operations |
| U<value> | Program OSCCAL memory, where: <value> is a hexidecimal number representing the OSCCAL value to be programmed. This may only be used in conjunction with a programming operation. |
| V<value> | Vpp override |
| X | Use VPP first Program Entry Method |
| Y<memory region> |
Verify Device: P = Program memory, E = EEPROM, I = ID memory C = Configuration memory If no region is entered, the entire device will be verified |
| Z | Preserve EEData on Program |
| ? | Help Screen |
Each option must be immediately preceeded by a switch, which can be either a dash <-> or a slash </> and options must be separated by a single space.
Example:
PK2CMD /PPIC16F887 /Fc:mycode /M
PK2CMD -PPIC16F887 -Fc:mycode -M
Command Line Example:
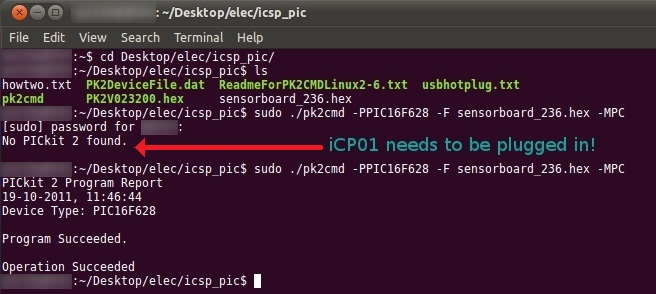
[DIR]$ sudo ./pk2cmd -PPIC16F628 -F sensorboard_236.hex -MPC
PICkit2 set to a PIC16F628. File sensorboard_236.hex is loaded. The device's program memory and configuration memory are programmed.
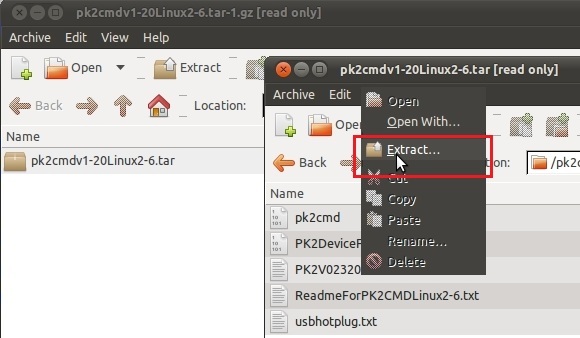
Software installation (GUI form):

Download:
Special Thanks to: